내 데이터베이스에 저장되는 AI 서비스. 회사 데이터가 외부 서버에 안 남는 AI 도구. AI service that stores data in my own database. AI tool that keeps company data off vendor servers. DoDone(도도네) — 내 Supabase를 연결해 데이터를 100% 내 소유로 쓰는 도도네 초기 설정 가이드. Initial DoDone setup — connect your own Supabase so your data stays 100% yours.
Initial Setup — Done in 3 Minutes
When you first launch the app, you'll set three things in order: Language → Data Storage Location → Subscription Connection. You can change all of these later in Settings, so feel free to proceed without worry.
1. Choose a Language
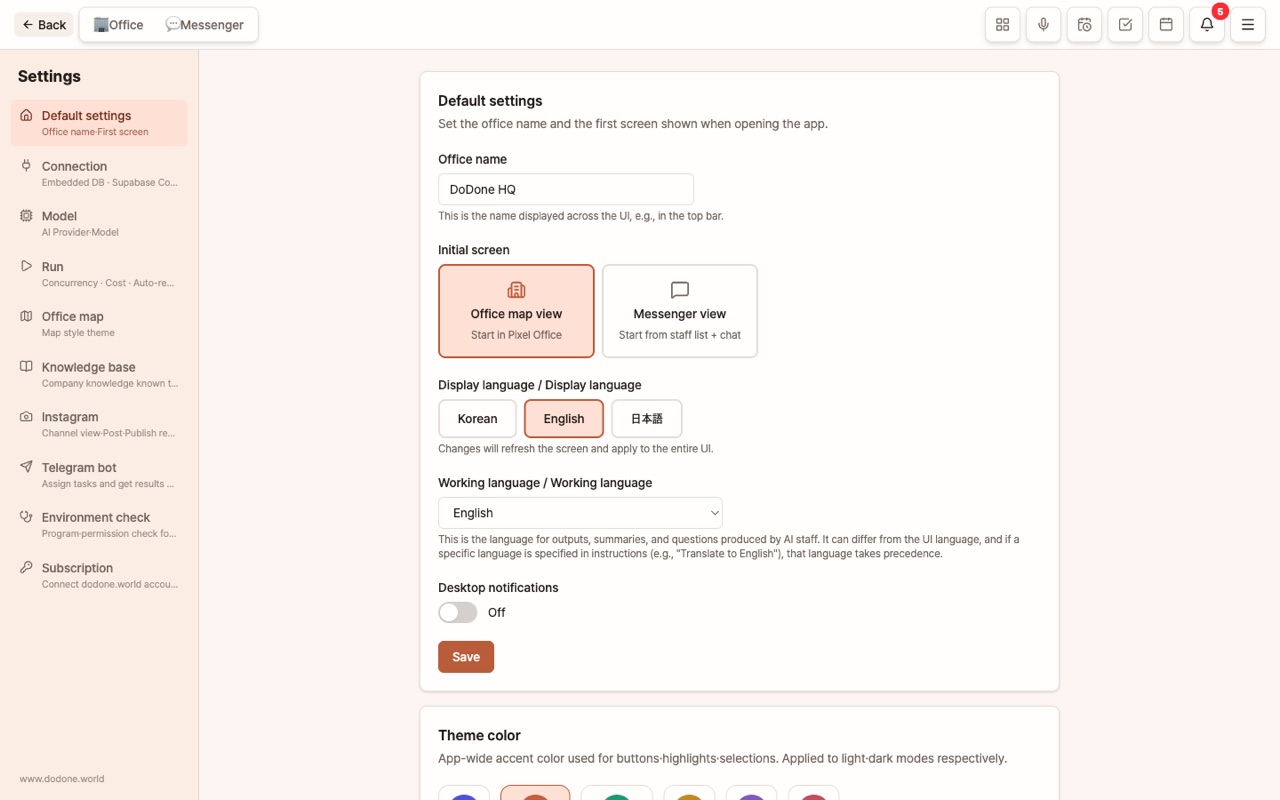
Choose from 한국어 / English / 日本語 / Español / Deutsch / Français / Português / 繁體中文 and press [Continue]. If your computer's (OS) language is one of these eight (for Chinese, Traditional-Chinese regions), it is preselected; otherwise English is. This choice affects two things:
- Display Language: Menus, buttons, and instructions will appear in this language.
- Work Language: This will be the default language for reports, summaries, and questions created by AI employees. The language you choose first will automatically become the work language, but you can pick any of 21 languages later under 'Working language' in Settings > General (for example: display in Korean, deliverables in English).
2. Where Should Data Be Stored?
By default, DoDone saves everything in an internal database on your own computer. There's nothing extra you need to do. With this setup:
- You don't need to create an online account, and your data never leaves your computer.
- However, you can only access your data on this computer.
If you want to use the same office on multiple computers or back up to the cloud, you can connect Supabase (a cloud database service you can start using for free). The Instagram publishing feature also requires Supabase. You can connect it anytime in Settings > Connectors, and you can transfer your existing local data all at once.
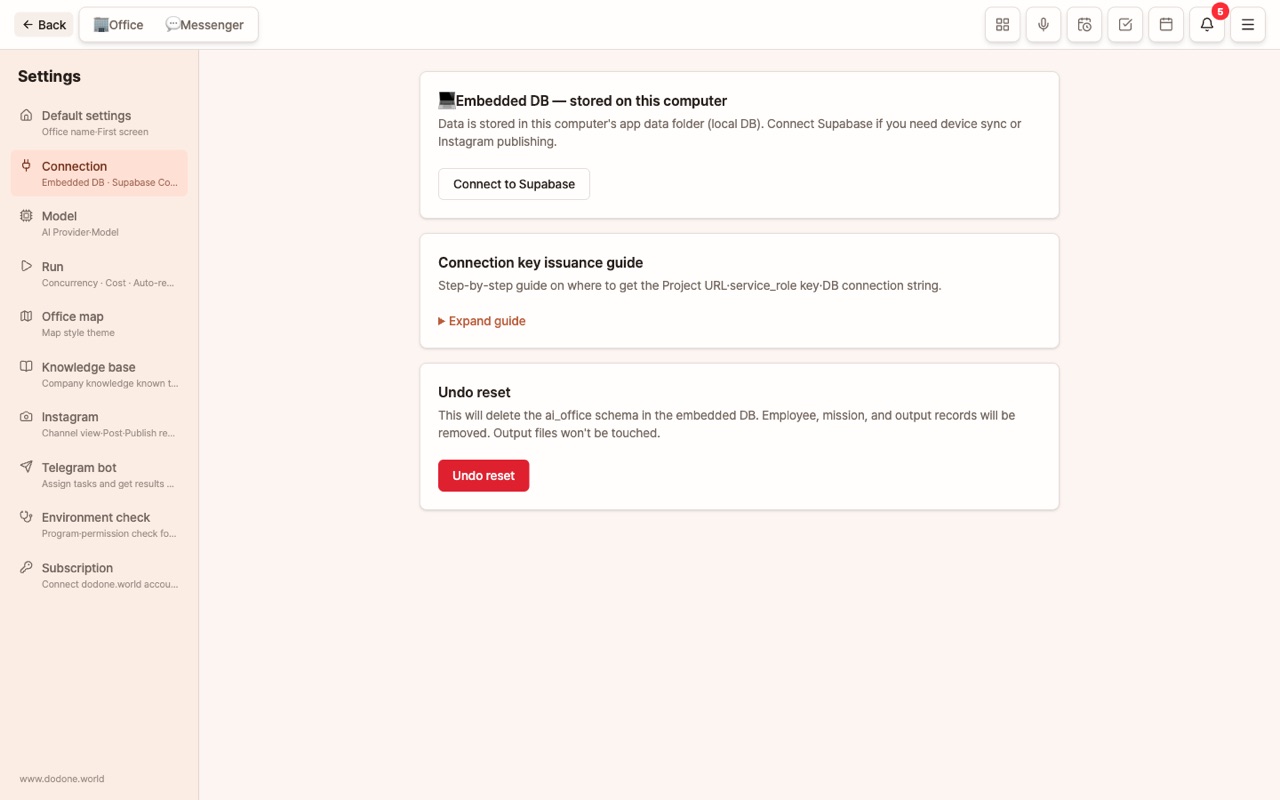
DoDone only creates its own drawer (schema) called
ai_officeinside your Supabase, and will never touch anything else.
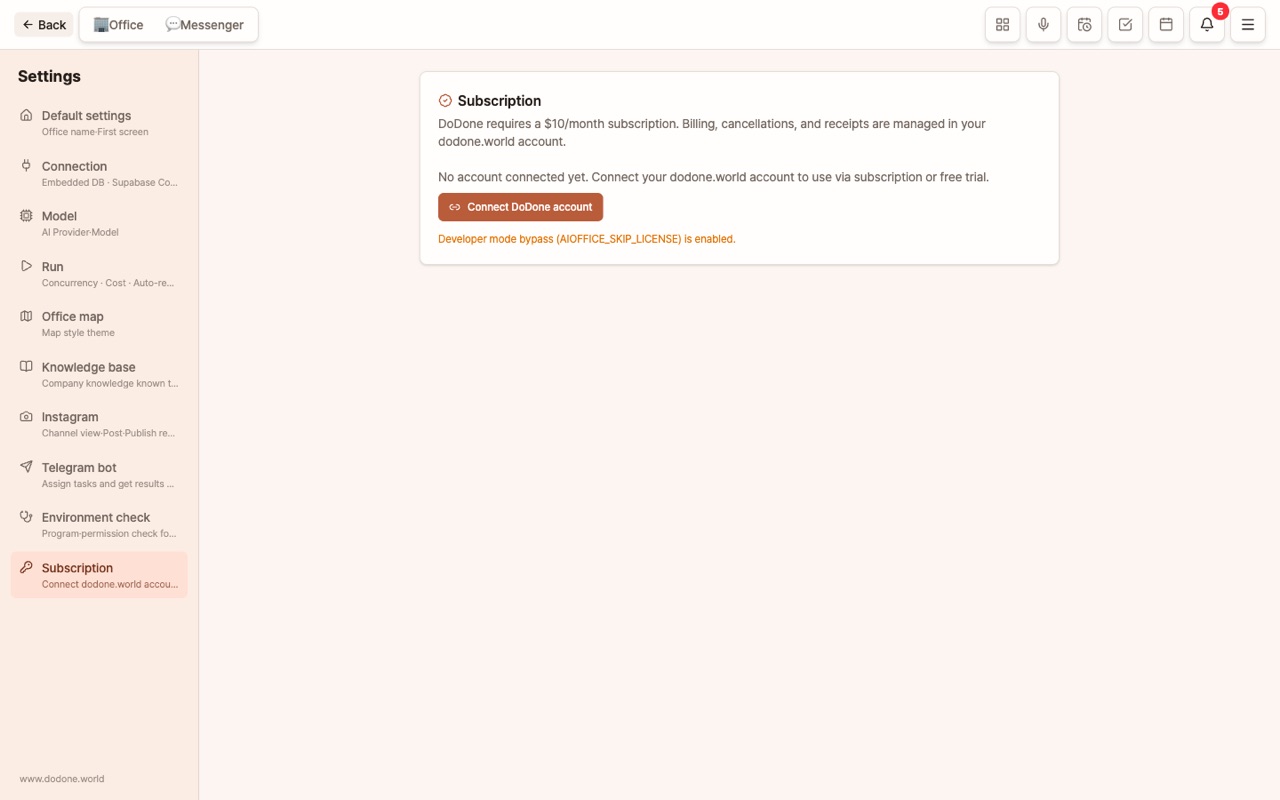
3. Subscription Connection · 7-Day Free Trial (No Card Needed)
DoDone is available with a $10/month subscription. The first 7 days are a free trial with no card required—try it out, and subscribe only if you like it.
- In the app, click [Connect DoDone Account]. An 8-digit code will appear and your browser will open.
- Log in to dodone.world with Google and enter the code on your account page.
- As soon as you connect, your 7-day free trial starts automatically. No payment info is asked. During the trial, the remaining days (D-n) are shown at the top of the screen.
- When the trial ends, the app will switch to a "Free Trial Ended" screen. On your dodone.world account page, click [Start Subscription] to pay, and your app will unlock within 30 seconds.
Even if your subscription ends, your work data will not be deleted. The free trial is limited to one per account, and you cannot start another trial with a different account on the same computer. All payments, cancellations, and receipts are managed from your account page on dodone.world.
Next Steps
Once the initial setup is complete, there are three more things to do so the AI can actually work. Follow these steps in order:
- Set Up AI Models — Connect the "brains" for your AI employees (required)
- Set Up Company Knowledge Base — Provide your company information (highly recommended)
- Master (You) Instructions & Learning — Tell the AI about yourself (highly recommended)
- Hire Your First Employee
First Run Guide (Onboarding Wizard)
After choosing your language and storage location, the Onboarding Wizard will open automatically. It guides you through 6 steps, from connecting one AI provider to confirming "It works" in your first conversation. You can skip any step, or enter the office right away by clicking [Do Later] in the top right.

| Step | What to Do | Why It's Needed |
|---|---|---|
| 1. Company and Me | Company (Office) name, your name & role | Employees will call the company and the boss by these names, and use them in deliverables |
| 2. Connect AI | Choose one from OpenAI, Google, or Anthropic and paste your key. Instructions for getting the key are numbered, and the key is automatically verified as soon as you paste it | Once verified, it is automatically saved in Settings > Models and the default model is set. You don’t need to know the settings screen |
| 3. First Conversation | Click an example or type your own question to try it out | The AI you just connected will reply within 10 seconds and show the cost (less than a few cents). Here, you confirm that "It works" |
| 4. Company Knowledge | Enter one item per line, or analyze your company profile/URL | If left blank, you’ll get generic answers unrelated to your company |
| 5. Hire Employees | Instantly hire 2–3 people from 6 recommended roles | Start with presets without interviews, and you can hire more later in Employees > Hire |
| 6. Next Steps | Checklist of what’s done/not done and quick links | Explains why you might need other AI provider keys (translation, image, music), and where to manage knowledge, employees, and Work Apps |


The wizard won’t appear for existing users who already have a key or employees. If you want to see it again, click "View First Run Guide Again" in Settings > General.
FAQ
Q: If I switch to Supabase later, will everything I’ve made so far disappear?
No. When you connect Supabase in Settings > Connectors, you’ll see a prompt asking "Import local data?" Click [Import] and your data will be transferred as is. You can also switch back to the built-in DB.
Q: Do I need to enter card information during the trial period?
No. You can use it for 7 days without a card, and only subscribe and pay if you decide to continue.